
Summer is here! The kids are out of school and the warm weather is here. This means more outdoor time! Who doesn’t love a good DIY project? We created a collection of awesome projects you can do this weekend that won’t break your bank. Enjoy!
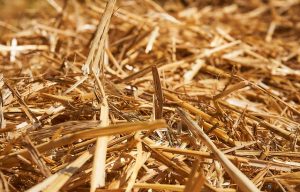
#1 A Straw Bale Garden
5 Easy Steps to Make a Straw Bale Garden
Want a thrifty summer garden without having to dig into your yard? Then this is the perfect garden for you! This is a relatively easy thing to do and you can put your garden wherever you’d like. Here are the steps you need to take for straw bale gardening:
Time to complete project: A couple of weeks
What you’ll need:
- Straw Bales
- Landscape fabric or mulch
- Organic fertilizer
- Potassium
- Phosphorus
- Compost or meat thermometer
- Metal stand
- Potting soil
- Plant seeds
- Purchase straw bales. In order to know how many straw bales to purchase, you need to know what you want to plant. Typically on straw bale can handle:
- 2-3 Tomatoes
- 3-5 Peppers
- 2-3 Summer Squash
- 1-2 Winter Squash
- Try to get one bale of straw for every type of plant you are planting. Ideally, you will want bales made from alfalfa, wheat, oats, or rye as they have fewer weed seeds than hay.
- Position your straw bales. Find a spot that will provide adequate sun for your plants. Next, put landscape fabric down or other mulch to discourage weeds from growing in the area. Start by turning the bale narrow side up so the strings holding the bale together are now on the sides and parallel to the ground. Please note that one side of the bale the straw will be folded over. On the other side of the bale, the straw will be cut. You will want the cut side up as this will allow moisture to penetrate the bale.
- With the cut side up, position your bale in the place you want it to stay (or close to it). As you will see in subsequent steps, the bale will become heavier to move as you prep the bale for planting. Get the bale in its final resting spot to avoid the laborious task of moving a weighted-down, soggy bale in the future.
- Prepare your bales. About two weeks prior to planting, you will want to begin the process of conditioning the bale(s). For the first three days, water the bale(s) so they stay damp. For the next six days, continue to water the bales and on an every-other-day basis add three cups of organic fertilizer to each bale. On day nine, add three cups of potassium and phosphorus to each bale, then water it in. On day ten, return to watering the bale and do this for the next few days until the inside temperature of the bale is similar to the temperature outside the bale. A compost or meat thermometer can help you measure the internal temperature.
- NOTE: When watering the bales, rainwater, or water that has been allowed to warm prior to application helps support the microbial activity better than cold water.
- Create support for the plants. If you are planting items like tomatoes or cucumbers, you might want to make a stand or stick a metal stand around the bale for support. Tall plants, like tomatoes and corn, do reach a height that can break apart the bale so additional support features should be added.
- Plant! Dig out appropriate holes for your plants with a little extra room for some potting soil mix that will be added for extra nutrients. If you are planting seeds, add a couple of inches of potting soil onto the top of the straw bale. Space your plants apart from each other as if you were planting them in the soil. Then, water well!
Straw bale plants will receive less nutrition from a bale than they would from the soil. Therefore, it is important to fertilize them every week or two. This will ensure proper nutrients and also keep the bale from drying out.
#2 A DIY Patio
7 Simple Steps to Create a Patio
A patio is a great idea to create an attractive outdoor space. A place where you can eat, grill, read, and relax. Here are some tips to get started.

Time to complete project: 1 day
What you’ll need:
- Shovel
- Landscape fabric
- Pavers
- Class 5 or gravel & sand
- Plastic or aluminum edging
- Stakes
- Rubber mallet
- Sand
- Plan out an area. Find an appropriate area–one that will provide great value and one that is mindful of the surroundings. If you plan to have a fire pit, watch out for overhanging trees or plants.
- Dig down. After confirming with the local utility company that there are no buried gas, water, or electrical lines, digging can begin. The finished height of the patio should be slightly above the surrounding ground so that rainwater won’t settle on the surface. You must also know the height and size of your pavers and leave enough space for the foundation. An extra 6 inches of sand and gravel will provide a good foundation and is the secret for a good patio.
- Create a foundation. The thickness of the foundation depends on the soil–wetter soils need a thicker base than soils that drain well. Once the excavation is complete and the surface is leveled, install landscape fabric to limit weed invasion. Landscape fabric will also help reinforce the area beneath the pavers for extra stability while allowing water to flow through the pavers and into the soil.
- Fill in with Class 5 or gravel and sand. Fill the entire area with about 4 inches of Class 5 to create a consistent foundation and tamp it down so the area is smooth. After measuring to make sure no more Class 5 gravel is needed, add sand and level it.
- Install a paver border. Add some plastic or aluminum edging around the patio border and secure them with stakes.
- Lay the pavers. Once your sand is down and the border is secure, snap a chalk line if you prefer, and lay down the pavers! As you lay the pavers in place, tap them down firming with a rubber mallet so they settle firmly in the sand.
- Add sand over the top. Once your pavers have been laid, spread sand over the pavers to fill in the cracks.
- Enjoy your new patio!
#3 Make Compost
3 Easy Steps to Make A Compost Bin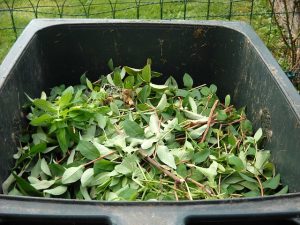
Stop putting your food waste in the trash! A lot of that food could be repurposed in a compost bin. Plus, you’ll save money, benefit your garden, and help preserve the environment with this simple DIY project.
Time to complete project: About a month to get the soil started
What you’ll need:
- Plastic or metal bin
- Build, Create, or Purchase a Compost Bin. You could have a plastic or metal bin, a hand-made bin (perhaps out of pallets), or store-bought bin that is specifically designed for composting. Whatever you decide, just get a bin! If you are worried about how the compost will look and smell, a closed bin with a top or cover is a good bet. Plus, a fully enclosed compost will protect it from curious animals.
- Ingredients: Your compost needs four ingredients to become a home for decomposers: carbon, nitrogen, moisture, and air.
- Carbon (“Brown” waste): Can be found in leaves, straw, wood chips, recycled paper, and cardboard.
- Nitrogen (“Green” waste): Can be found in freshly cut grass, hedge clippings, vegetable kitchen scraps, coffee grounds, tea bags, plant matter, etc. These items allow bacteria to break down carbon and in the process they release heat. Heat is a good thing as it expedites the decomposition process.
- Moisture: Dry material is resistant to decomposition. Bacteria, fungi, and earthworms need moisture to live. Sprinkle water on your compost as you add each layer of ingredients to make sure it starts off with the right moisture level. No water is needed if the scraps you throw in are wet enough on their own.
- Air: Bacteria also needs air to do its job. An over-saturated bin, or one with “swampy” conditions, will drive air out. Make sure the bin is vented properly by adding air holes in the sidewalls, regularly turning the compost with a pitchfork, or driving a stick or pole into the compost to create new air pockets.
- Wait and Cultivate: Mix the compost bin materials once a week for 4-5 weeks and you’ll see your scraps turn into soil. If your compost is lacking progress after a few weeks, add more “green” material and make sure the pile is moist. If the compost pile is smelly and wet, add more “brown” material and turn the compost more frequently. Your compost is ready when it looks and smells like soil. Add it to your garden beds or sprinkle it on top. Remember, compost is not a replacement for your soil, but it is a soil amendment that acts as a natural fertilizer so add it a couple of times a year for the best results.
#4 Build a Pallet Deck
6 Steps to Build a Pallet Deck
Are you in need of a new deck but aren’t ready to shell out the cash? This is a great temporary fix as you save up for the real deal.
Time to complete project: About 2 days
What you’ll need:
- Wood pallets (6)
- Paint or wood stain
- Sander or sanding device
- Screws
- Find your pallets. Wood pallets have recently become a popular home decor. They can be repurposed as bookshelves, coffee tables, wall decor, or in this case, outdoor patios. Pallets are a stable piece of wood and don’t run for much money. You may be able to find them for free by talking to businesses, pallet recycling centers or looking on Craigslist. If an owner is charging for their pallets, you can expect to pay around $20 per pallet (in good condition). For a small pallet deck, you’ll need 6 pallets.
- Try to collect pallets that are in good condition, or make sure to repair any that may have chips or loose pieces.
- Paint/stain the pallets. This is the fun part! You can paint or stain the pallets any color you wish.
- Secure the pallets together. Screw or nail all 6 pallets together into your desired shape. Make sure they are level ground so that you don’t end up with a slanted patio.
- Enjoy your deck! Add some chairs and maybe a small table. The choice is yours!

#5 Plant a Garden
Tips For Planting a Garden
Customize your garden with flowers, vegetables, herbs or shrubs.
Time to complete project: A few days
What you’ll need:
- Garden soil
- Seeds
- Ask a local garden specialist for information on what plants are best for your area.
- To customize your garden further, add mulch, rocks, a bench, or garden decor.
Pro Tip: For best results, mix garden soil with your current soil when planting. Here’s an example of a compost and topsoil mix that will provide nutrients to your plants.
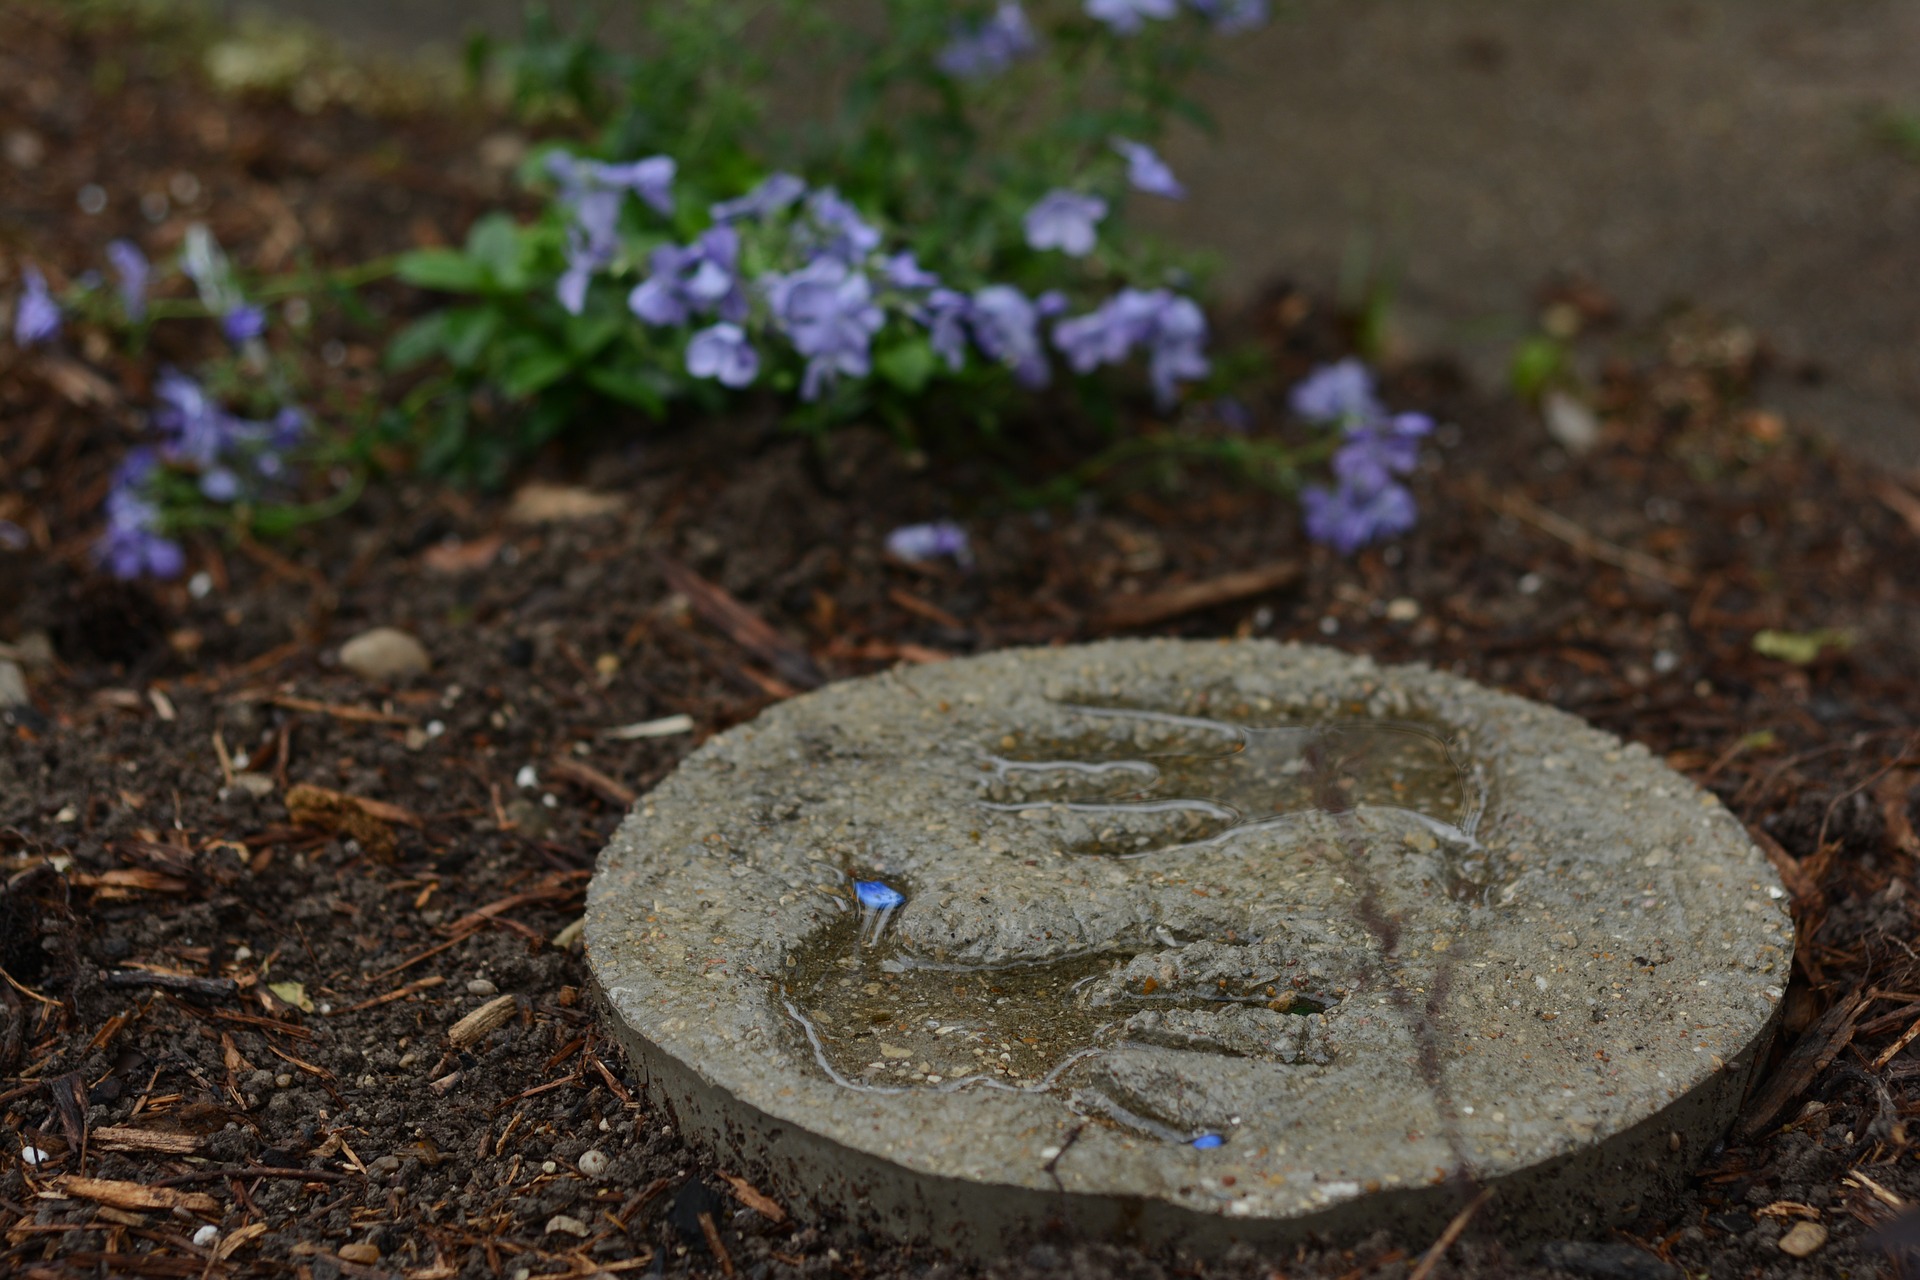
#6 DIY Stepping Stones
4 Steps To Make Your Own Stepping Stones
Create a path through your yard that’s both easy and inexpensive. Cement stepping stones are fun to make and the supplies are relatively cheap.
Time to complete project: A few hours
What you’ll need:
- Stepping stone mold
- Cement
- Bucket & mixing stick (for mixing your cement)
- Decor (this could be anything you’d like to set into your mold!)
- Pick up a mold– You can find molds at most craft stores and cement at any home improvement store. Here is an example of a recycled blend of cement that is environmentally friendly.
- Follow the directions on the cement package, pour it into the molds, and let them dry.
- Decorate- If you have kids or animals, you can imprint the stone with their handprints or names while the cement is wet. Craft stores also sell stones and items that you can set into the mold as you desire.
- Place the stones in your yard to create a pathway or use them as fun garden decor.
#7 Light Up The Night
7 Steps To Make DIY Tin Can Lanterns for the Backyard
This project won’t cost you anything- and it’s environmentally friendly too!
Time to complete project: 1 day
What you’ll need:
- Aluminum cans- these should be pretty easy to find, if you don’t have any sitting around, ask your neighbors!
- Permanent marker
- Hammer & a nail
- Spray paint (if desired)
- Sand or small rocks
- Tea lights
- Remove the labels from your cans and clean them thoroughly.
- Fill the cans with water and freeze them overnight, so that they don’t bend when you begin your project.
- Mark where you want the light to come through- create a pattern of dots on the can using a permanent marker. The more marks you make, the lighter your lantern will be!
- When you are satisfied with the design, punch holes where the dots are using a hammer and nail.
- Once the ice has melted, paint your cans with outdoor spray paint.
- Add small rocks or sand to weigh the can down and insert a tea light to illuminate the lantern.
- Place the lanterns around your yard to light up the night.
#8 Build A Sandbox
9 Easy Steps For Building a Sandbox
The kids will thank you!
Time to complete project: 1 weekend
What you’ll need:
- Landscape fabric
- 2”x10” boards
- 3” galvanized decking screws
- Sand
- Choose the desired dimensions of your sandbox. These instructions provide for an 8’x8’ box, but you can adjust it however you’d like.
- Remove any grass, sod, or branches from the desired location
- Add a layer of landscape fabric to the cleared area to prevent weeds from growing and to allow drainage.
- Build the walls for your sandbox- cut the desired dimensions for the walls of your box from 2’ x 10’ boards. Use the leftover wood to cut four 90-degree triangles that will fit in the corners of your sandbox.
- Fasten the frame together by drilling pilot holes at each corner of the frame with 3″ galvanized decking screws.
- Line up the four triangles on each corner and screw them down. These will provide extra support and an optional seating area.
- Position the frame in the cleared area.
- Fill the sandbox. This screened sand makes for the best sandcastles!
- Add colorful toys and let the kids play!
#9 Build Your Own Table
How To Turn a Whiskey Barrel into a Table in 4 Simple Steps

This DIY project is both stylish and unique!
Time to complete project: A few hours
What you’ll need:
- Whiskey barrel
- Round glass table top
- Sander
- Decor such as rocks, lights or twine (optional)
- Self-adhesive silicone furniture bumpers
- Purchase a whiskey barrel and a glass tabletop- you should be able to find both of these at most home improvement stores. You can also contact a local distillery or winery.
- Cut the whiskey barrel to the desired height and sand the edge down to make it smooth and level.
- Your table will have a glass top, so you may want to fill the barrel with something decorative such as rocks, lights, or twine. Small rocks like these would work great.
- Place the glass on top of the barrel and your table is complete. You’ll want to place something between the barrel and the glass, so we recommend using self-adhesive silicone furniture bumpers, which can be found for around $2. Add your tin can lantern on top for the perfect rustic look!
Now it’s time to sit back and relax in your new backyard! Summer landscaping can be a lot of work, but these quick projects are fun to make and will leave you with plenty of time to enjoy the results.
Fra-Dor sells class 5 gravel, sand, mulch, and more at affordable prices to help you with these projects. We deliver landscape supplies to your home, or you can stop by our location in Little Canada, MN. Happy DIY-ing!


